Several weeks ago, I was walking with our Friday group just past the great blue heron rookery near the bay. We stopped and like the others, I tilted my head, listening to the loud, prehistoric-sounding caws. Standing still, I pictured winged teradactyls and quetzoquoatluses hidden in the dark leaves. I peered up at the trees, binocular-less, searching for the enormous nests which I soon discovered were a good four feet across.
Then, we watched, mouths agape as one or two of the herons started with barely a rustle, and soared swiftly away, easily reaching the full six-feet of their wingspans, the great creatures gliding and circling with little apparent effort.
I straggled behind a bit with Christine, who walked alongside her own human hatchling. Meira, wearing an adorable bonnet, was just over a year and was now walking with what seemed a lot of confidence for such a tiny person.
I said to Christine, "She's becoming who she is."
Christine smiled and answered, "I feel like I'm still becoming who I am."
I held onto this as I continued on. I realized that Christine was right: we can always keep changing and becoming who we are no matter how old we are or where we are in our lives. It doesn't matter whether we are moving through life's swift currents or standing with heels dug in, watching the herons.
I suppose that's the crux of it then, the reason why I haven't been around here in a while. I've been busy exploring, discovering, protecting the little hatchling inside myself that's trying to grow into something different from what, or who, already existed. I'm becoming who I am.
It hasn't been an easy process, and I suspect it's not over yet. That's a good thing, I think. Maybe at some point, without even realizing it, I'll be ready to fly.
Well. Here are some of the things in the past few months that I've worked on (and am still working on!):
1. Came back from the Josey Baker workshop in March and proceeded to tweak the same bread formula (Josey's Country Loaf) using locally grown and milled wheat. Felt like I should be wearing a white lab coat with all the detailed notes I was taking. Some days resulted in disastrously dense loaves, but I soldiered on. Told myself over and over again to go back and start from what did work. Did this every, single day for eight weeks straight until one day, my bread snob friend, Sabine, took a bite and told me I had "hit the nail on the head." (Yes!)
2. Volunteered to help my race-director husband make post-race food for the Lake Whatcom Triathlon, somehow using the bread I had mastered.
This resulted in me baking thirty loaves of hearth bread (in my home oven) and then turning it all into enough grilled cheese sandwiches to feed every athlete, volunteer, timing person, police and sheriff officer, as well as random people coming through. So basically, almost 300 people within a two-and-a-half hour time frame.
And guess what? The race was awesome, no one got injured, and everyone seemed perfectly happy to devour the crisp-crunchy, toasty-gooey sandwiches I'd made. Thankfully, I had some lovely volunteers -- Joanne, Marrielle and Alexandria.
3. All of which brings me to "Grilled Cheese For My Friends," which is what I called the whole experimental grilled cheese extravaganza that day. I even made a banner for it. Maybe it was because of the banner, but people started coming up and asking me if I had a food truck. Nope, but if you want me to come to your house and make 300 grilled cheese sandwiches, I'd be happy to do it for ya.
3. Started selling selling loaves to friends, families and neighbors who seemed to feel guilty (I think?) for constantly getting free bread because I was baking so much. This lead me to start calling my "neighborhood micro-bakery" Bread Skool. If you're in the area and want to buy bread, shoot me an email. The Bread Skool website is coming soon too and you'll be able to order bread from there.
4. Speaking of Bread Skool, I also started working toward making my goal of teaching baking and cooking classes (especially to young kids) a reality. At first, this involved my creating a little curriculum and teaching the sourdough process to friends. Then, I got connected with the Play Lab here in town and will be teaching some parent-child classes for kids three to five years. Yes! Starts next month with Flatbread classes and a stand-along Hand-Rolled Couscous class. They're called "Little Hands" classes and you can register by clicking here!
And well, there's more, but you get the gist. It's been on the busy side. There hasn't been a lot of time to test and put together many recipes or shoot photos. In fact, meals around here have been a bit on the unorganized side of things.
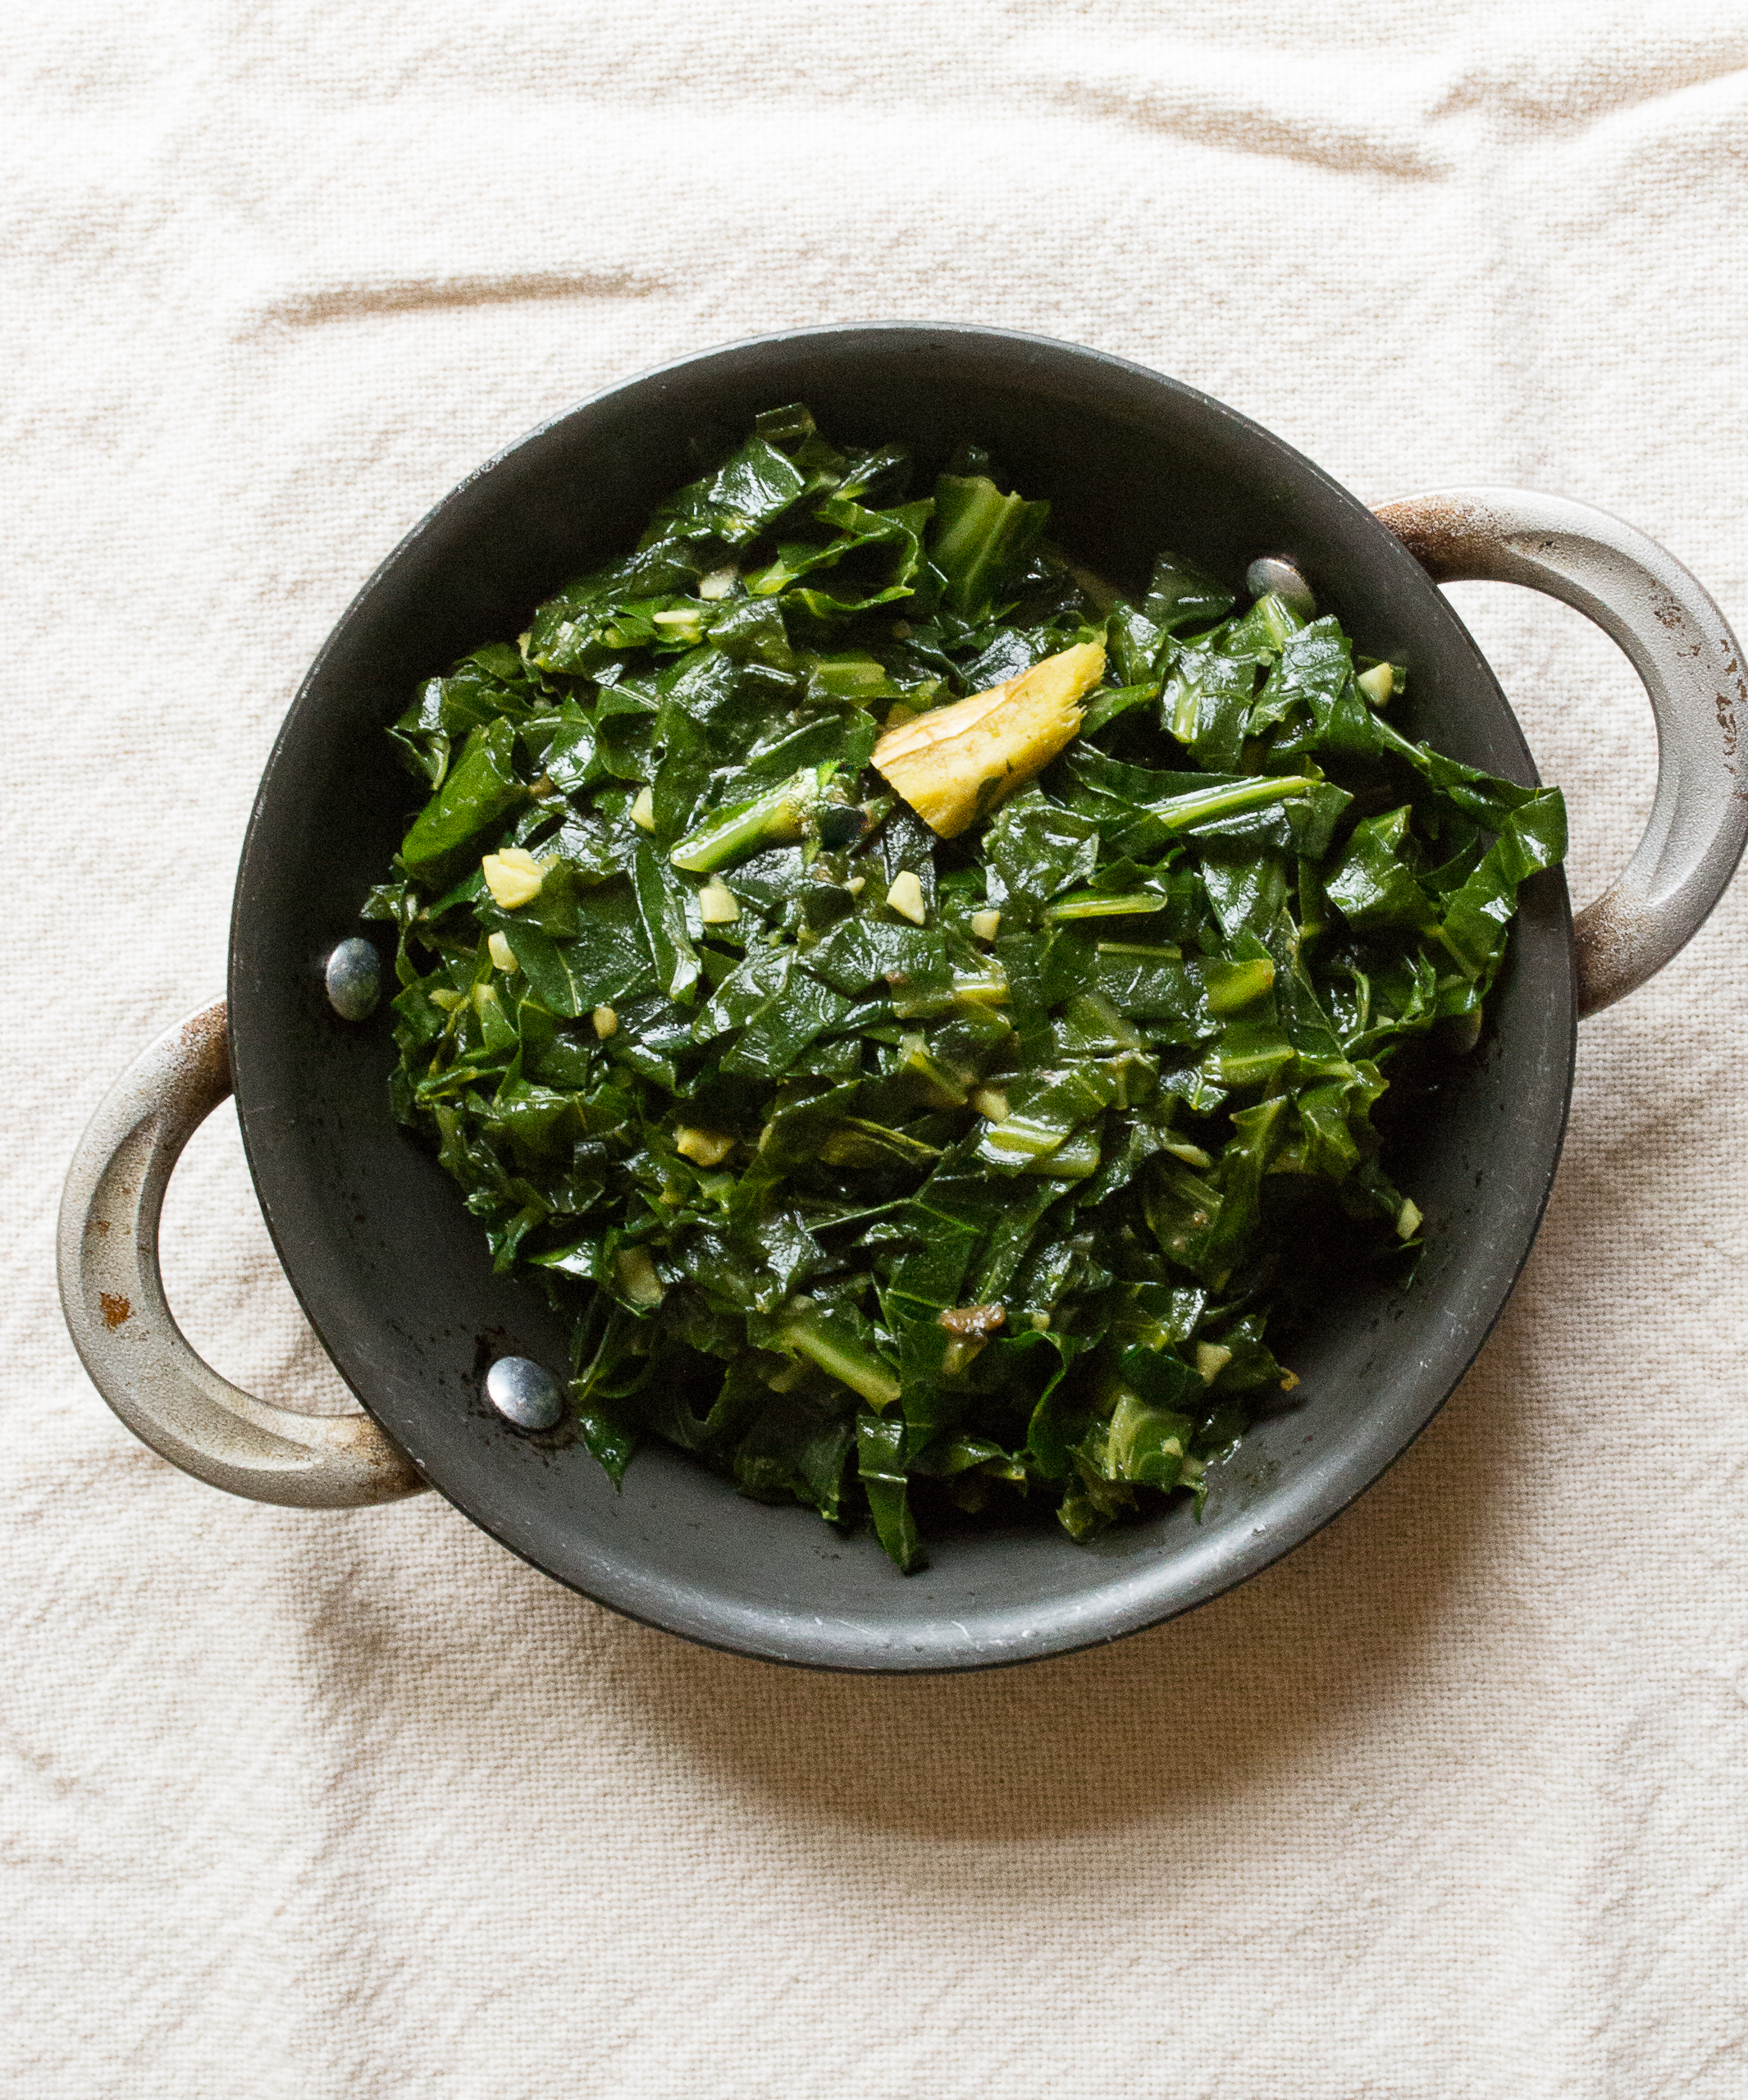
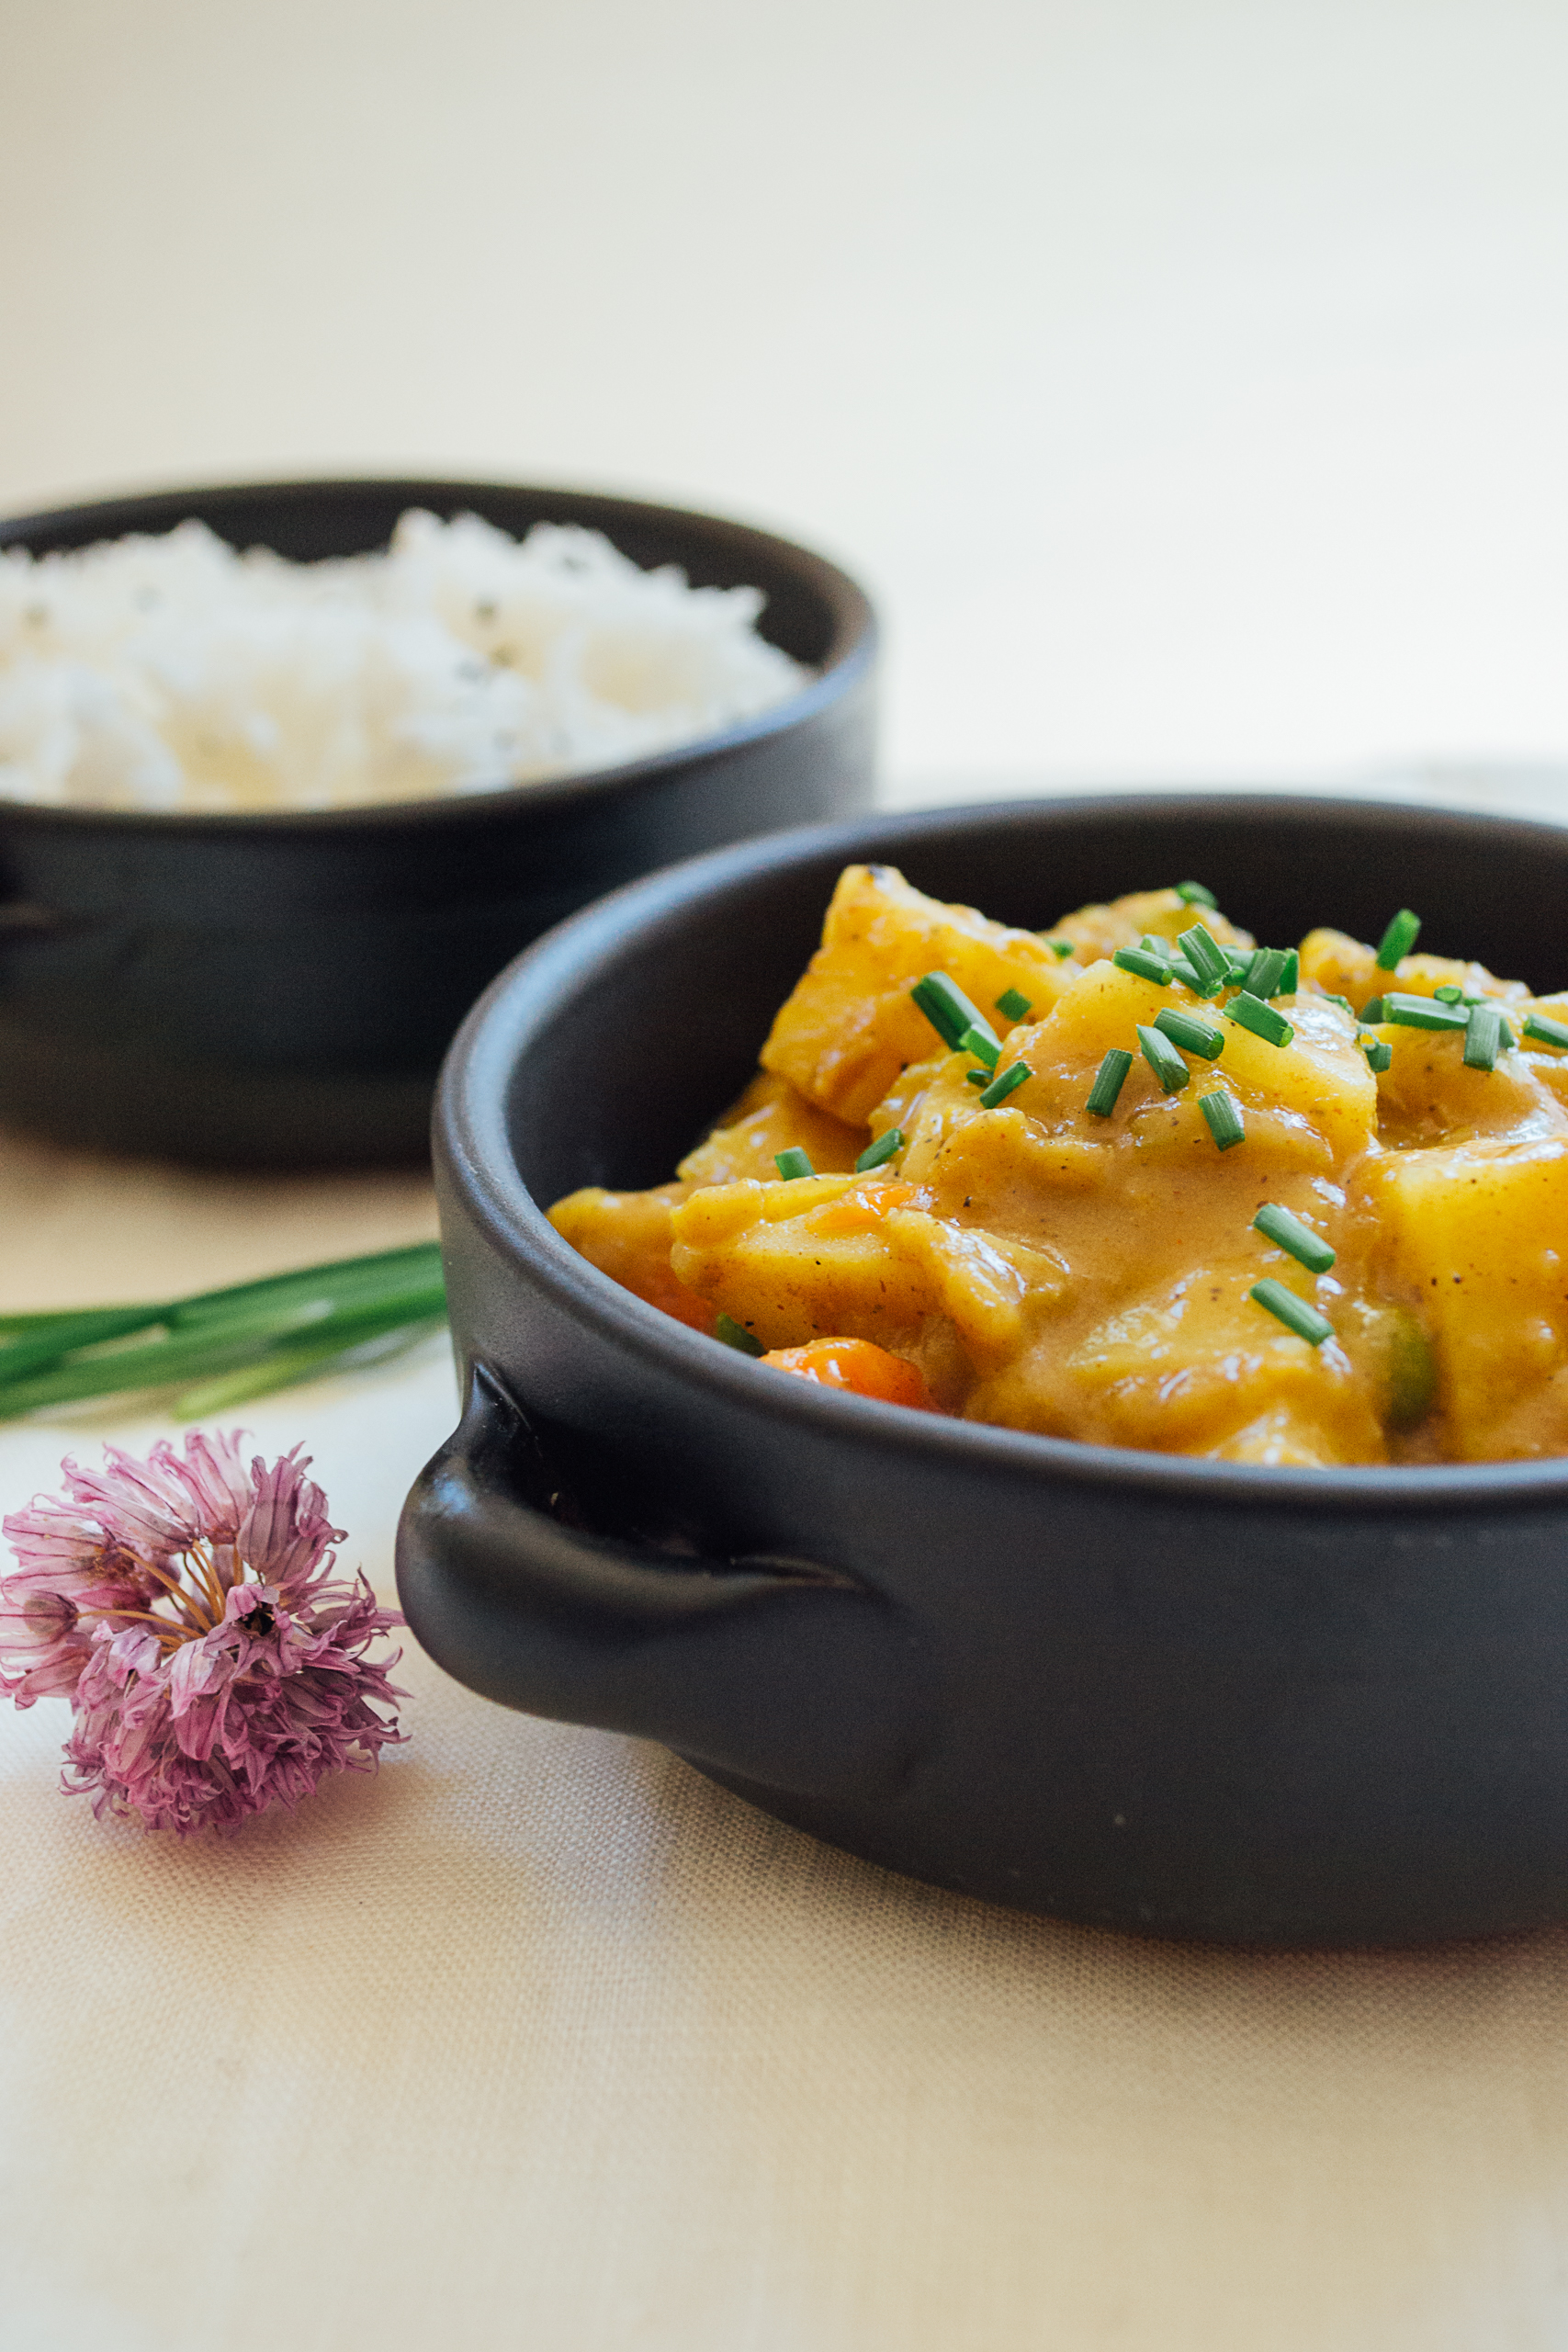
Which brings me to this very flexible dish of coconut-braised greens. If you've got some greens around, a little bit of mild curry powder and some coconut milk or cream, you can make this very quickly -- even if you've got a ton of things going on. It's full of flavor and is so comforting. To me, it feels like a hug, especially when you're drivin' through Busy Town.
Coconut-Braised Greens
Serves 1-2. Great with a couple of pieces of good bread, toasted and well-buttered.
Ingredients
1 bunch of greens (collard, kale, etc.)
1 tablespoon coconut oil
1-inch peeled, fresh ginger
1 garlic clove, minced
1 1/2 teaspoon mild curry powder (plus more, if you want a stronger curry flavor)
1/3 to 1/2 cup coconut milk or cream, plus more as needed
Salt, to taste
A couple of squeezes of fresh lime juice
Instructions
Remove tough ribs from leaves. Roll up leaves and chop thinly. With side of a large knife, smash the ginger then mince.
Heat oil in large, heavy-bottomed skillet over medium-high heat. When pan is hot, add ginger and saute for 1-2 minutes, until fragrant. Add garlic, give a stir, add curry powder and a generous pinch of salt. Stir in greens. Saute until greens begin to turn a bright green.
Add coconut milk/cream. Stir, then cover. Reduce heat to low and cook for about 12 minutes. Uncover and check. If the mixture seems dry, add more coconut milk/cream. You don't want it at all soupy, just moist enough so that the greens are not sticking to the pan and can move around easily. Cover again and cook for an addition 10-12 minutes (depends how soft you like it). When cooked to your liking, add lime juice and adjust salt to taste. Stand at the stove and eat it straight from the pan or if you are sharing, divide it into two small bowls. Devour immediately.


